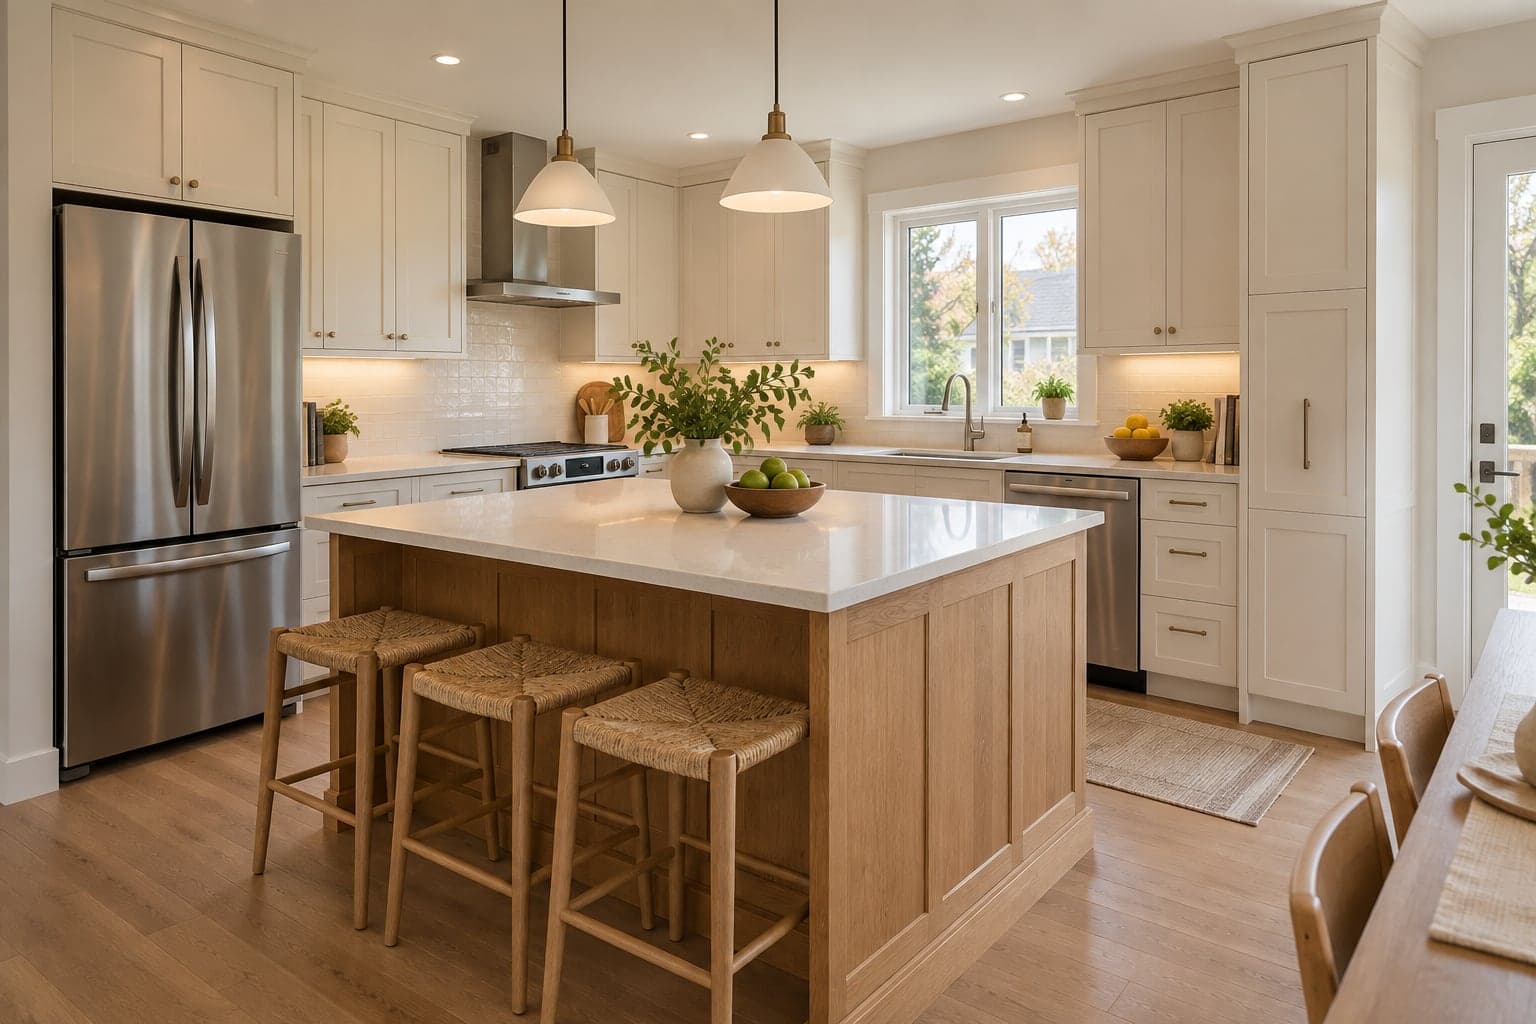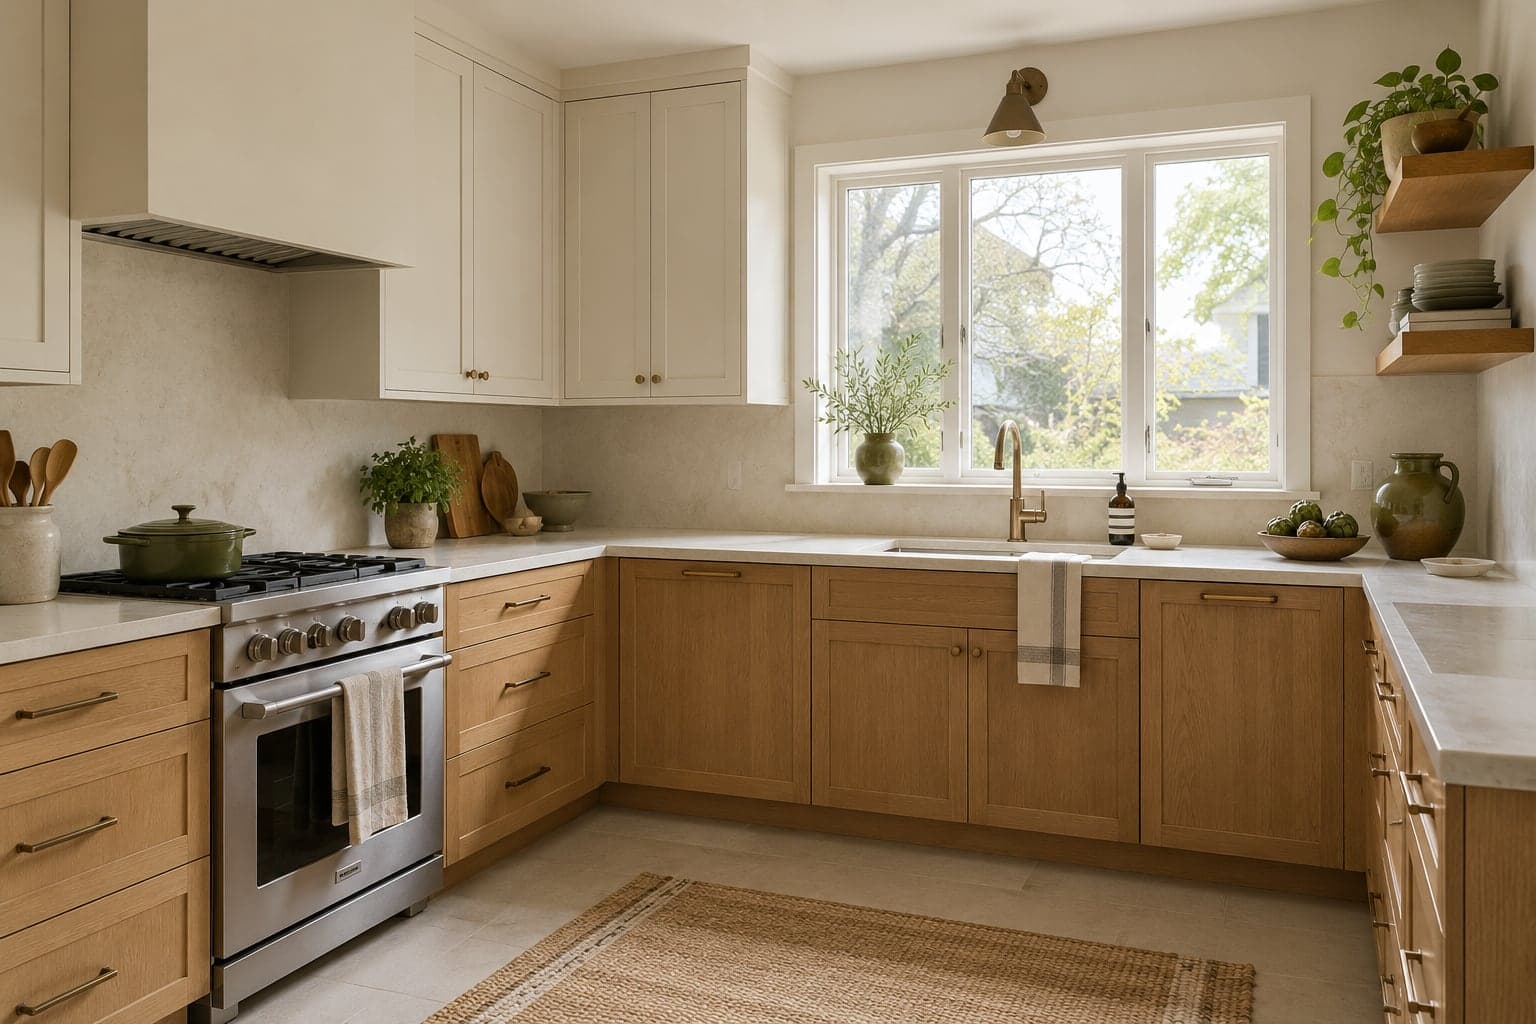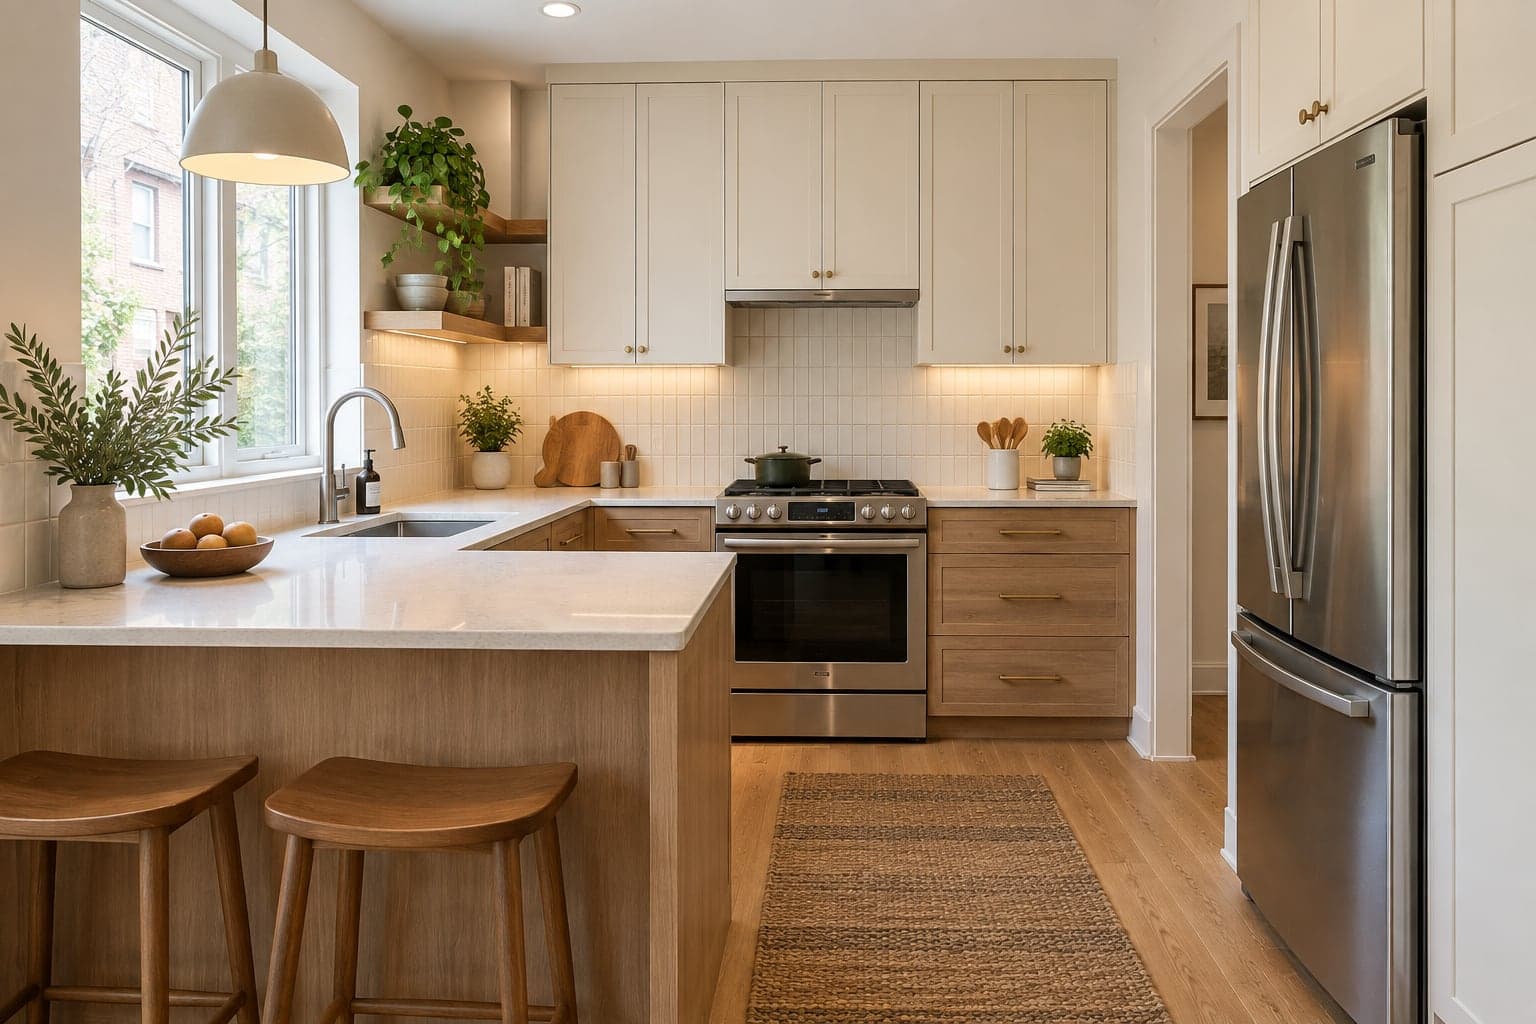
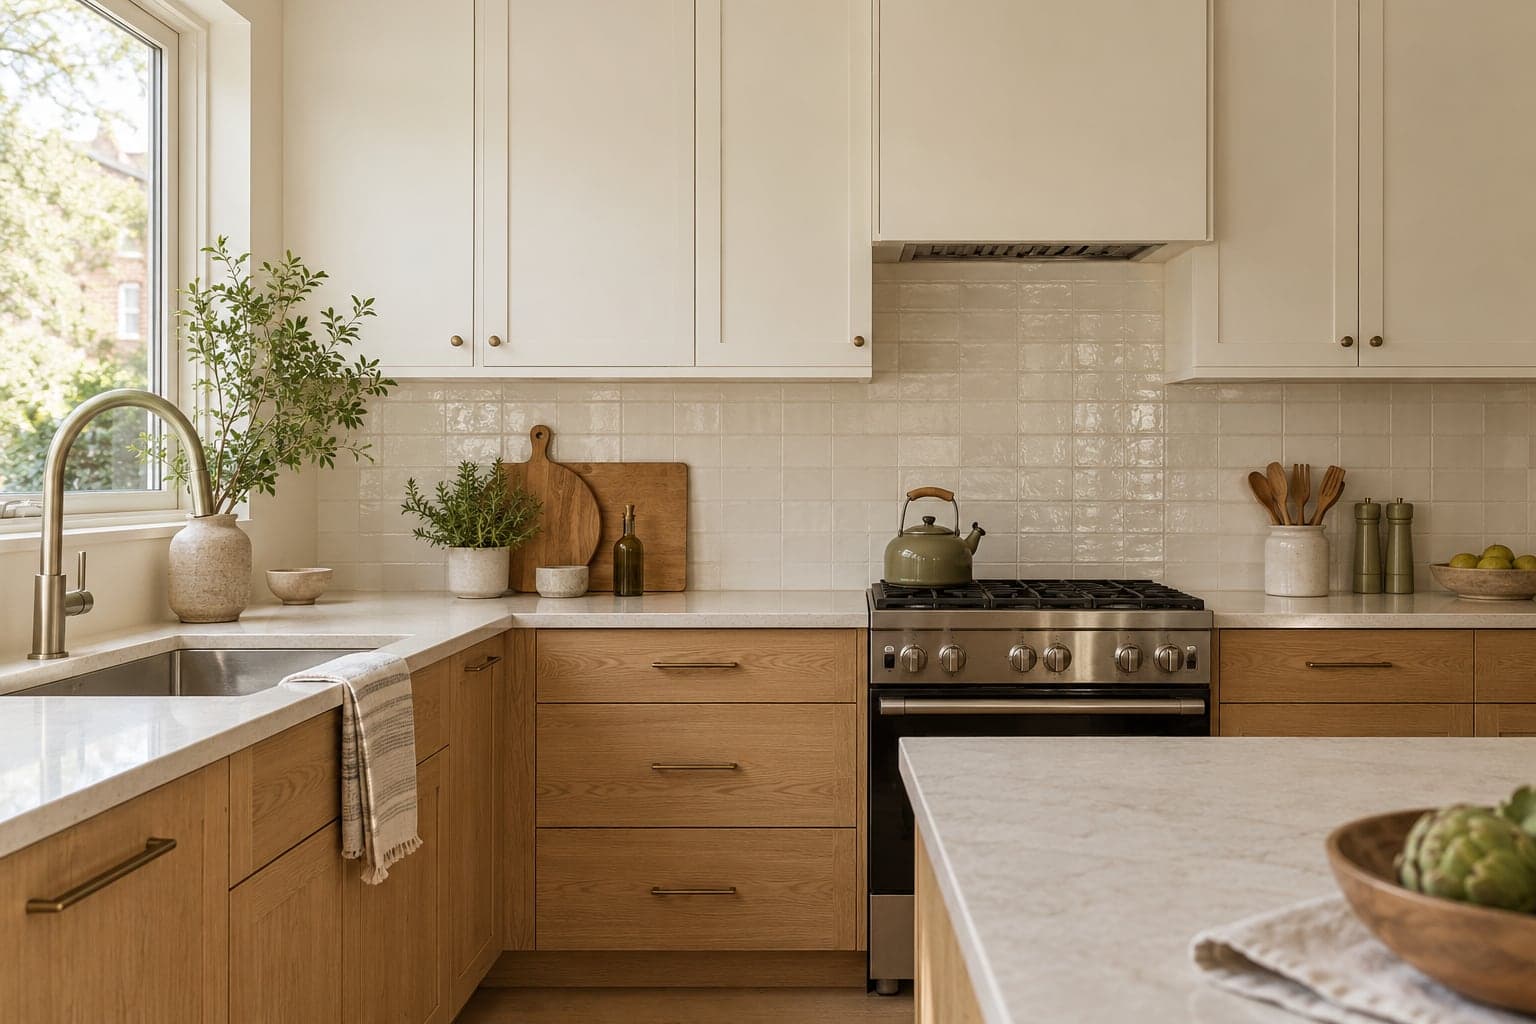
A backsplash can be a small part of a kitchen renovation and still involve several connected decisions. The tile has to meet the countertop, cabinets, outlets and exposed wall edges neatly. Before buying boxes, decide what will be removed, what stays and how the wall will be prepared. That makes the finished appearance and the installation quote easier to understand.
Identify what stays around the backsplash
List the retained countertop, cabinets, sink, tap, appliances and wall fittings. Photograph the full run, including corners and the ends of upper cabinets. A close-up of the existing tile alone will not show every boundary the new installation must address. Include any area behind a range or around a window.
If a countertop replacement is also planned, coordinate the two scopes. The new counter's final position and edge details need to be understood before the backsplash is treated as a separate finished item. Ask who verifies the junction and when final measurements are taken, rather than ordering tile to an assumed line.
Our kitchen renovation service guide helps define the surrounding work. For a focused update, be explicit about where the project stops so the installer can protect the retained finishes and price the actual boundaries.
Allow for removal and wall preparation
Ask how the existing finish will be removed and what is included if the backing needs repair. A new tile selection does not establish whether the existing wall is suitable for installation. The installer should assess the surface and specify preparation for the chosen materials, including any conditions that remain uncertain before removal.
Avoid assuming that an uneven or damaged area can be solved by changing the grout colour. The wall condition affects the installation underneath the visible finish. Ask how corners, patched areas and transitions to painted wall will be handled, and which repairs are included in the price.
Discuss the applicable product instructions with the installer. The Tile Council of North America's installation guidance and FAQs provide background on tile-system questions; the selected materials still need a project-specific specification. Our flooring and tile installation page outlines the preparation details to put in the scope.
Plan outlets and fittings before setting the layout
Mark every outlet, switch and fixed fitting on the measured area. Their positions affect tile cuts and the finished appearance. Ask the installer and electrical contractor to coordinate the work where fittings need attention; do not assume that tiling around a faceplate resolves the condition of the electrical installation behind it.
If you want outlets moved, added or otherwise altered, establish the electrical scope before tile is installed. Use ESA's notification guidance to check the relevant process with the responsible contractor. This avoids treating electrical changes as an informal addition at the end of the tiling job.
Also check fittings that attach through the finished surface, such as rails or shelving. Decide their positions and support requirements in advance. A photograph of the desired arrangement can help communicate the look, but it does not identify what is behind your wall or how a fitting should be fixed.
Review the tile layout at its ends and corners
Choose the direction and pattern, then ask how the layout will finish at visible ends. A tile that looks simple in a sample can create narrow cuts around a window or an awkward strip beneath a cabinet. Review the layout across the whole run, not just at the centre of the main wall.
Consider where the backsplash stops: at the countertop edge, the end of a cabinet or another deliberate boundary. Compare the available edge details for the selected tile. Some products have matching trims; others may need a different finishing approach. Identify that choice before the tile order is finalised.
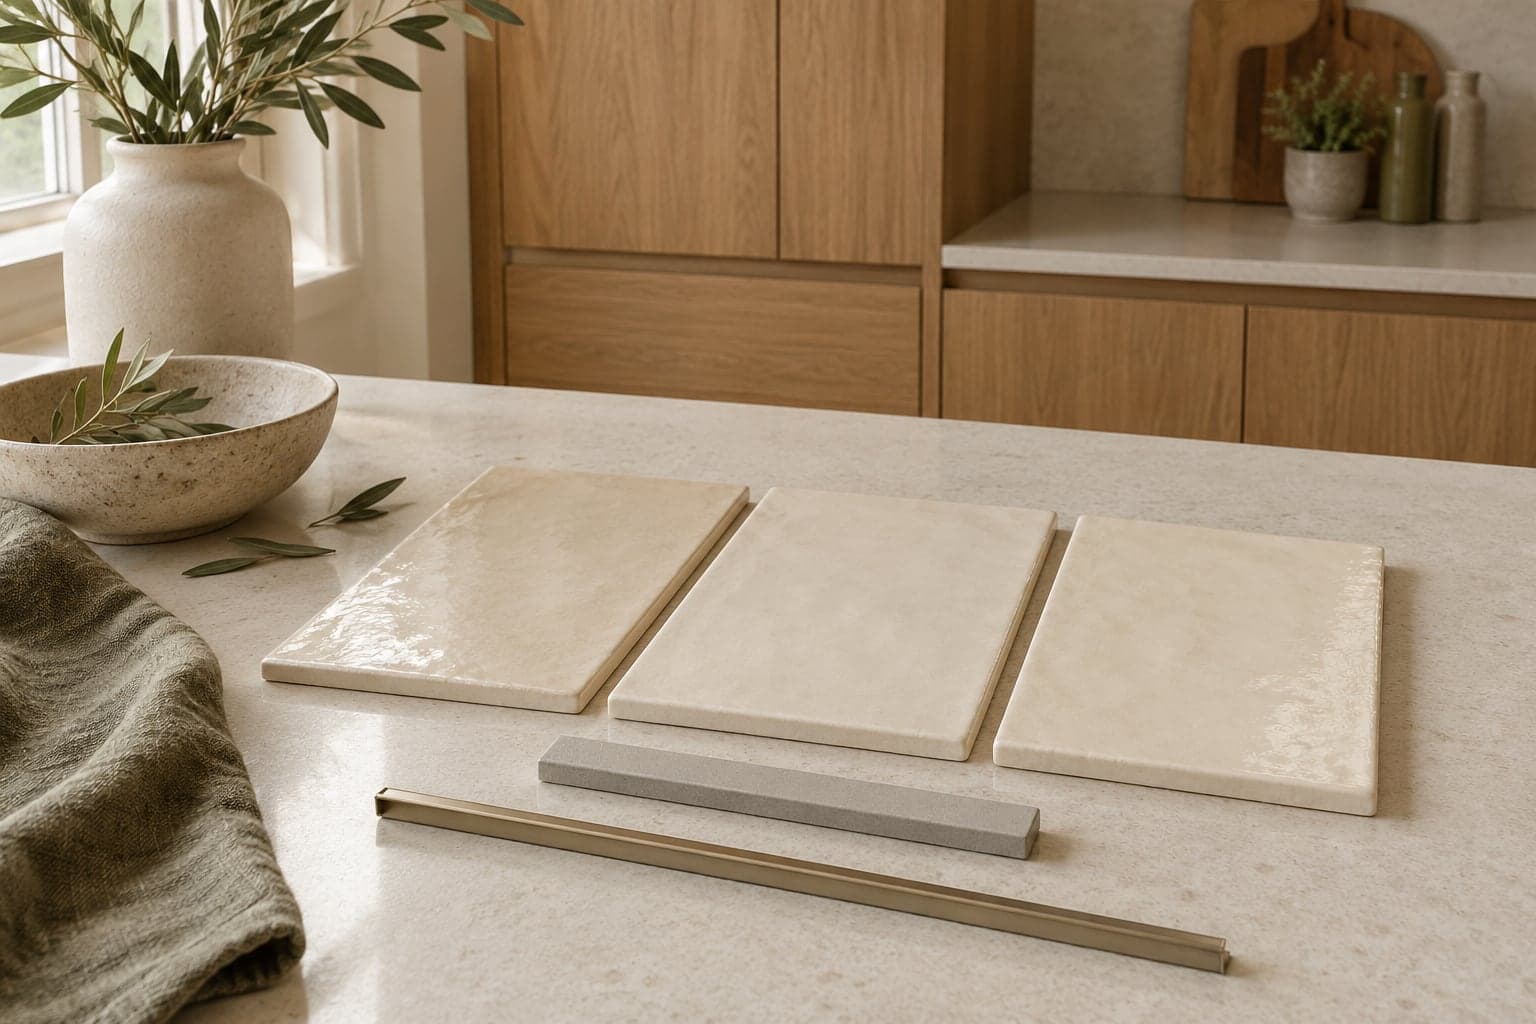
Use a small physical arrangement of samples to compare colour, orientation and grout. The installer still needs to check the actual wall dimensions and product variation. For broader finish coordination, our small kitchen renovation guide explains how to compare cabinets, counters and tile together.
Specify the countertop junction and finishing materials
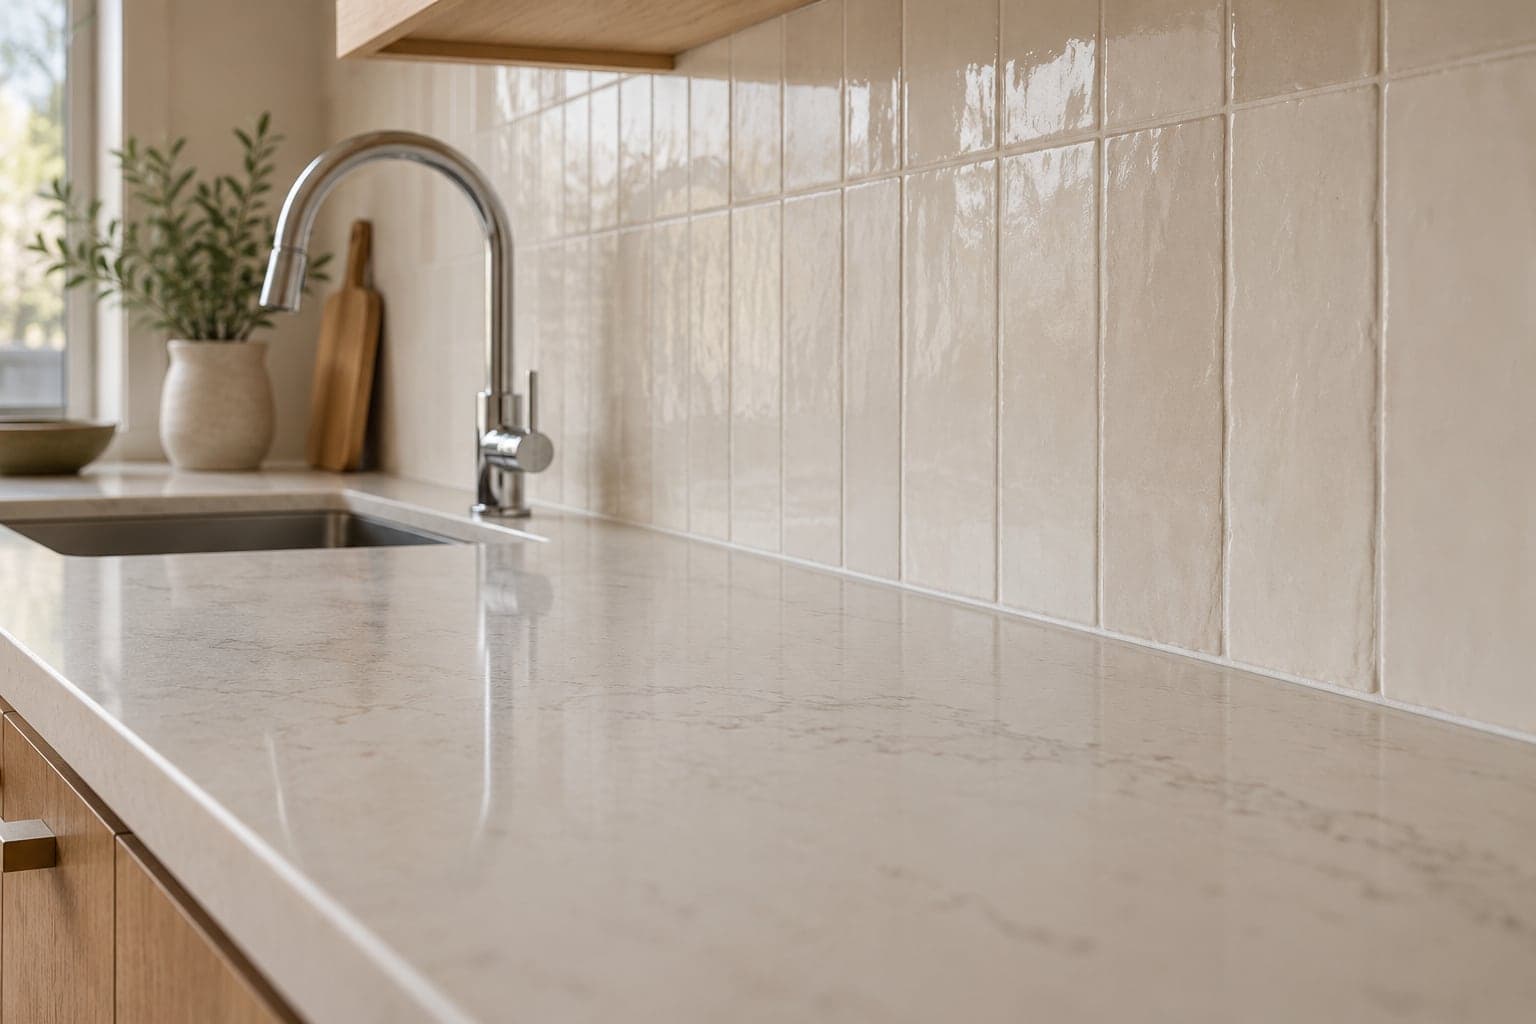
Ask how the tile will meet the countertop and which materials are specified at changes in plane. This detail belongs in the installation plan, not just the final cleaning list. A visually narrow joint still needs to be suited to its location and the chosen system.
Compare grout and finishing colours using samples beside the actual countertop. A strong contrast may emphasise the pattern and every cut; a closer colour may create a quieter appearance. Neither is automatically better. Choose according to the tile, lighting and amount of visual detail you want in the kitchen.
Clarify cleaning and care instructions for the actual tile, grout and adjacent countertop. Products that suit one material may be unsuitable for another. Keep the manufacturer's care information with the project records rather than assuming that every kitchen surface can be cleaned in the same way.
Confirm quantities, access and the full quote
Have the order quantity checked against the measured layout, pattern and cut requirements. Agree on a suitable spare quantity for the selected product and ask whether matching batches are available. Do not calculate an order only from the visible wall area without considering the layout and the installer's requirements.
A useful quote identifies protection, removal, disposal, preparation, tile supply, installation, edge finishing and associated work. Confirm who moves appliances and who reinstates affected fittings. If an unknown wall condition is discovered, agree how the additional work will be explained and approved.
For a wider kitchen refresh, read our same-layout kitchen cost guide and quote comparison guide. Send Westbourne photographs of the whole backsplash, retained finishes and preferred tile through our contact page for a scope discussion.
Common backsplash replacement questions
Can I keep the countertop? Potentially. Its condition, the removal process and the new junction need review. Make protection and any risk of exposed unfinished areas part of the scope discussion.
Can new tile go over old tile? Do not assume it can. The existing assembly, surface condition, added thickness, surrounding fittings and selected installation system need assessment before that approach is accepted.
Should I buy the tile before arranging installation? It is better to check suitability, quantities and finishing components with the installer first. A tile purchase without an agreed edge detail or enough material can delay a relatively small project.